My Proxmox Homelab - January 2024
A continuously improving journey

Always looking for a cyber challenge!
At some point in the IT world, you will stumble upon the wonderful realm of homelabbing. For those uninitiated (and I suggest you turn back now before it becomes an investment), a homelab is a computer or a server designed for practicing and learning different concepts in system administration, cybersecurity, networking, site reliability engineering, etc. It's the computer equivalent of having your personal woodshop to practice carpentry.
Homelabs can be scaled however you want. They can range from a laptop running Ubuntu to a whole data center in your basement. In my case, I have a background in building gaming PCs, so I naturally gravitated towards that. Before I get into the hardware, I would like to stress that your homelab can be as little or as big as you need. It can even be entirely virtualized. Ben Heater has a phenomenal series of blogs on creating a virtualized home lab that I highly recommend reading.
Also, homelabbing learning process. It was a big one for me, and continues to be. Keep that in mind as you read! :)
The Hardware:
With my background in PC gaming, I used a mix of both old and new parts. I did not feel comfortable building a machine with 24/7 availability yet, but I definitely went a bit overkill.
CPU: AMD Ryzen 5 3600 (New)
RAM: 32 GB DDR4 (New)
Storage: Samsung 970 EVO 2TB M.2 (New)
Power Supply: EVGA Supernova 650W Gold (New)
PCIe 1 Gigabit Ethernet card (New)
Graphics Card: GeForce GT710 (New)
Motherboard: MSI B450M-A PRO MAX (Old)
Case: NZXT H510 (Old)


Miserable cable management aside, I think I did well! If I could, I would have skipped out on the GT710. However, my motherboard required a graphics card to POST (turn on), and I did not want to get a new one.
Building it was not that complicated for me; the only part I struggled with was looking through my closet to find the motherboard mount for a CPU cooling fan (I only used the stock AMD cooler).
The Installation (with a bonus VM creation tutorial!):
![]()
I wanted the PC to act as a hypervisor for any virtualized instance I created. That way, I could have multiple servers for different purposes. I decided to go with Proxmox, a Debian Linux based hypervisor. It's open source, intuitive, and perfect for my needs. Accessing it would only require a web browser on another PC, which is exactly how I wanted it set up.
Installing it was easy enough. Just flashing a USB drive with Rufus and plugging it in. You will need a display for the installation process. It was just like installing any other Linux operating system.
Once this shell pops up, your system is ready to go.

The port Proxmox is hosted on is 8006. So running "ip a" in the shell will give you the local address, then typing that in the web browser will take you to the Proxmox environment!
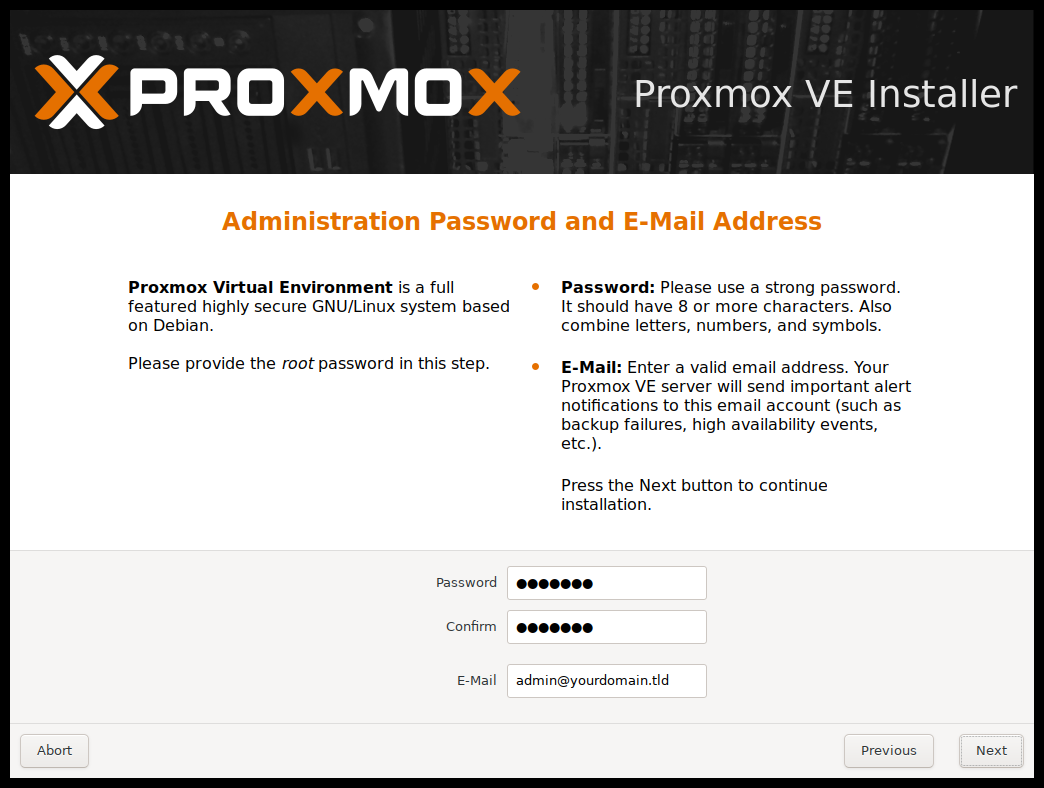
The username is root, and the password is whatever you set up during installation:
Once you're in, you will have to create a virtual machine (VM). If you don't know what a VM is, think of it as a computer within a computer. Except, Proxmox is built to hold multiple computers! I would not browse Google Docs on Proxmox. I would install a version of Linux with a VM and THEN browse Google Docs in that VM.
Before creating a VM, you need an .iso file of an operating system. You would go to the "local (pve)" tab as shown here and click on ISO Images. You can either upload an .iso file you have, or download from a URL! We're going to try the "Download from URL" option:

Keep in mind with the Download from URL option, you will need the exact URL the file downloads from. Using Rocky Linux as an example, we go to the download page and copy the URL of the installation.


Once you hit download, it will start downloading

This "TASK OK" message means it's complete!


Now to create a VM, click the blue "Create VM" button.

Keep the VM on the pve Node. Name it whatever you want, but note you cannot use spaces. This is because you are creating the hostname within the Proxmox network.

Use the same .iso you acquired.

For this demonstration we will keep the BIOS on SeaBIOS.

Next you get to decide your disk size. Check SSD Emulation if your storage is SSD, and set the disk size to GB.

One thing I want to note is that, by default in Proxmox, space is allocated but not used until there is data filling that space. Think of it like reserving seats on a plane. The seats are not filled until there are people sitting down. One of my VMs was given 850 GB of space, but as we can see here, 850 GB of space has not been used yet.

Then decide how much of your CPU you're going to use. This is entirely dependent on how the machine is going to be used. Is this a simple DNS Sinkhole VM, or are you going to be running a datacenter amount of applications? For demonstration purposes, we will stick to 2 CPU cores. The CPU I have comes with 6.

Same thing with memory, decide your use case. I will be using 4 GB.

Googling "Ballooning Device" for memory gave me this explanation, which seems like a net good:

Finally, I keep the network at the defaults:

A confirmation page pops up where you can check "Start after created."

Click on the VM and click on the ">_ Console" button and you'll be up and running!

Initial Use Cases:

Initially, I wanted to learn how to create servers for gaming. In the gaming industry, many companies offer server rental services. My friend group and I had bad experiences with these companies, such as the loss of all our data with no backups provided. And what is the point of renting a server when it would last about a month tops?
As a result, the first use of my homelab came in the form of a Terraria server!

Running a Terraria server is extremely easy. In our case, it was a modded server using this shell script.


I used Xubuntu as my operating system of choice for most of these servers. I did this just because Ubuntu is easy to pick up, and I wanted a more lightweight versionI used Arch Linux for the Valheim server since there was a whole wiki page dedicated to running a Valheim server! Nothing gets by the Arch community.

Also, because these servers are port forwarded, I used Uncomplicated Firewall to lock down the rest of the ports to the server, keeping only SSH and the Terraria port open:

The skillset behind server administration is simply running shell scripts and manipulating files in Linux. Obviously, I wanted to use this homelab for much more than game server administration. However, I thoroughly enjoy helping my friends out through my technical know how. It makes them happy, and also gives me excuses to learn new things.
Private Cloud Storage:

I created a private cloud storage site for myself and my friends. It works exactly how it looks, and it's amazing. It's like Google Drive, except Google Drive only gives you 15GB of space for free. I gave this site 835GB of storage to use!
The application is FileBrowser, and setting it up was nearly painless. Massive shoutouts to Mehul Ingale for providing me a Docker compose file for FileBrowser. I had to make some modifications to make it work for my environment, but this was definitely the skeleton I needed for this to function properly. Mehul was a key component in helping me to get this to work, so I'm extremely grateful for all his advice.
Speaking of Docker, in hindsight, all of these servers I've made before would have easily run off Docker using only one VM instance. I'm continuing to learn Docker as I go along. Lately, I've begun using Portainer, but that's still a learning process in itself.
The hard part of all this was figuring out how I could get this site to my friends...
Of course, I wanted this to be private. I considered setting it up on WireGuard, and even had some config files at the ready.

The problem with WireGuard is it requires a Virtual Private Server (VPS) to connect to. The homelab in this case would be that VPS. I would need to port forward the instance that held the cloud storage, and that made me uncomfortable.
I decided to set up Tailscale VPN. Tailscale handles the security and connections on their end, preventing me from having to port forward anything.

Tailscale was easy to set up for everyone involved. I just had to provide a link to my friends, and we were set!
Conclusion:
I hope this post showed you can use a homelab for both fun and for honing skills. Ideally, I would like the next iteration of this series to have the following:
Reverse Proxying Capabilities (NGINX)
Grafana for visualization
pfSense
Snort IDS
Fail2Ban configuration
And more security focused additions.
Homelabbing is an ongoing process, and I made plenty of mistakes along the way. I hope I can look at this post years down the line and recognize where I came from.

Thank you for reading!


